This article explains how you can set up a new ESOP on Clara using our template legal documents and cap table management tools.
Before you set up your ESOP, make sure you have done the following:
There are two steps to setting up an SIP on Clara. First, you must create a pool of options using our Share Incentive Plan tool. Once that has been created, you can start granting options to your employees and advisors.
Set up the SIP
Set up the SIP
1. Go to the Generate Documents tab
This can be found via the blue plus button.

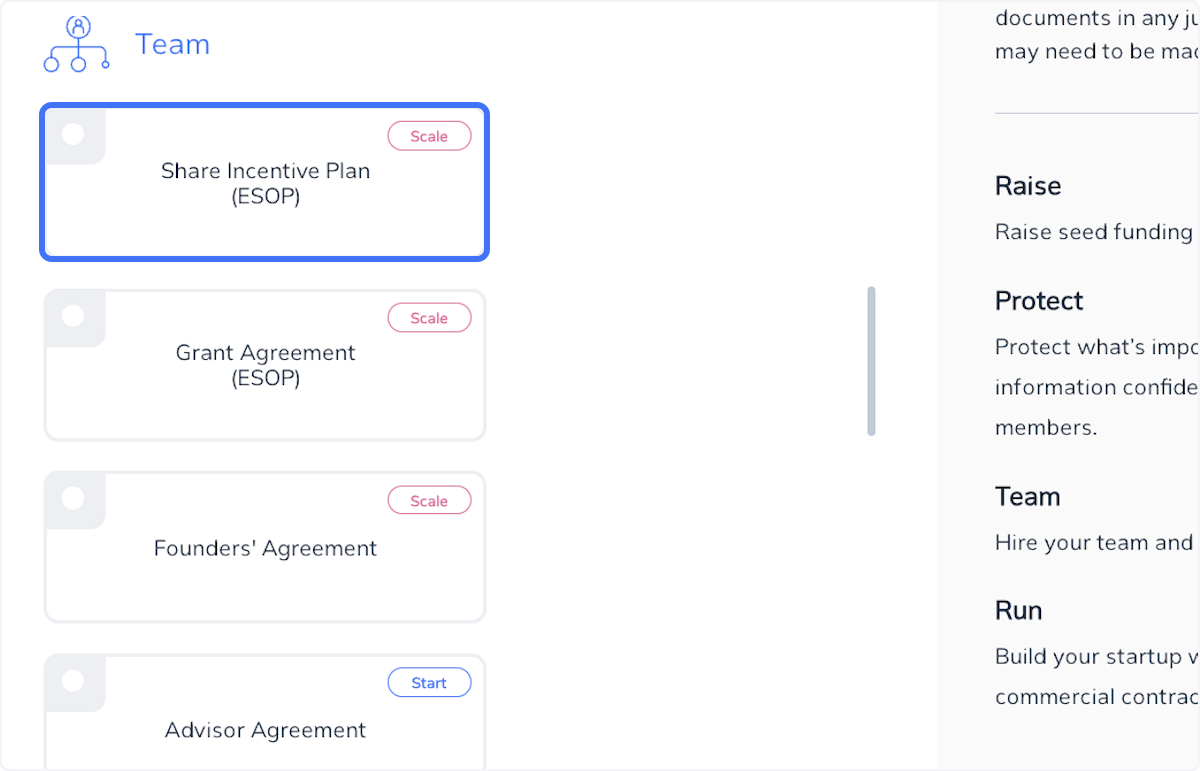
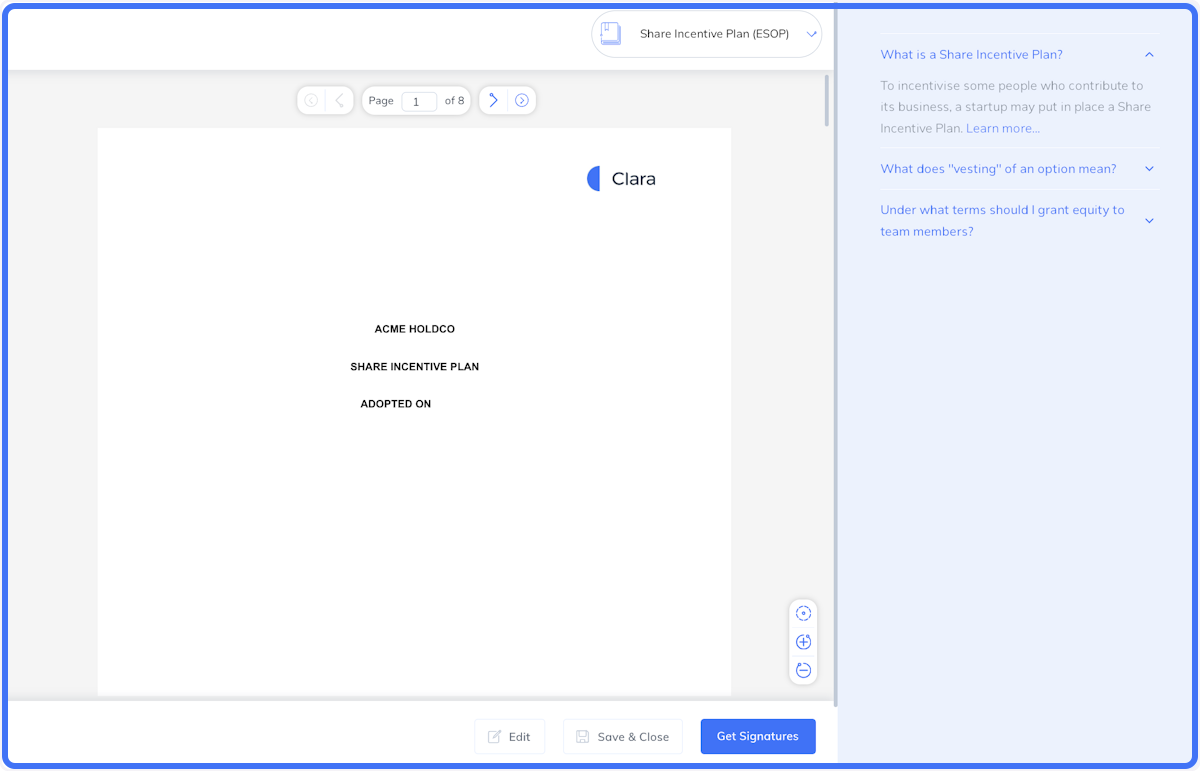
2. Click on Share Incentive Plan (ESOP)
Fist you need to set up a Share Incentive Plan. You can use this tool to generate a Share Incentive Plan, a FAQ, and a Board Resolution approving the creation of the SIP.
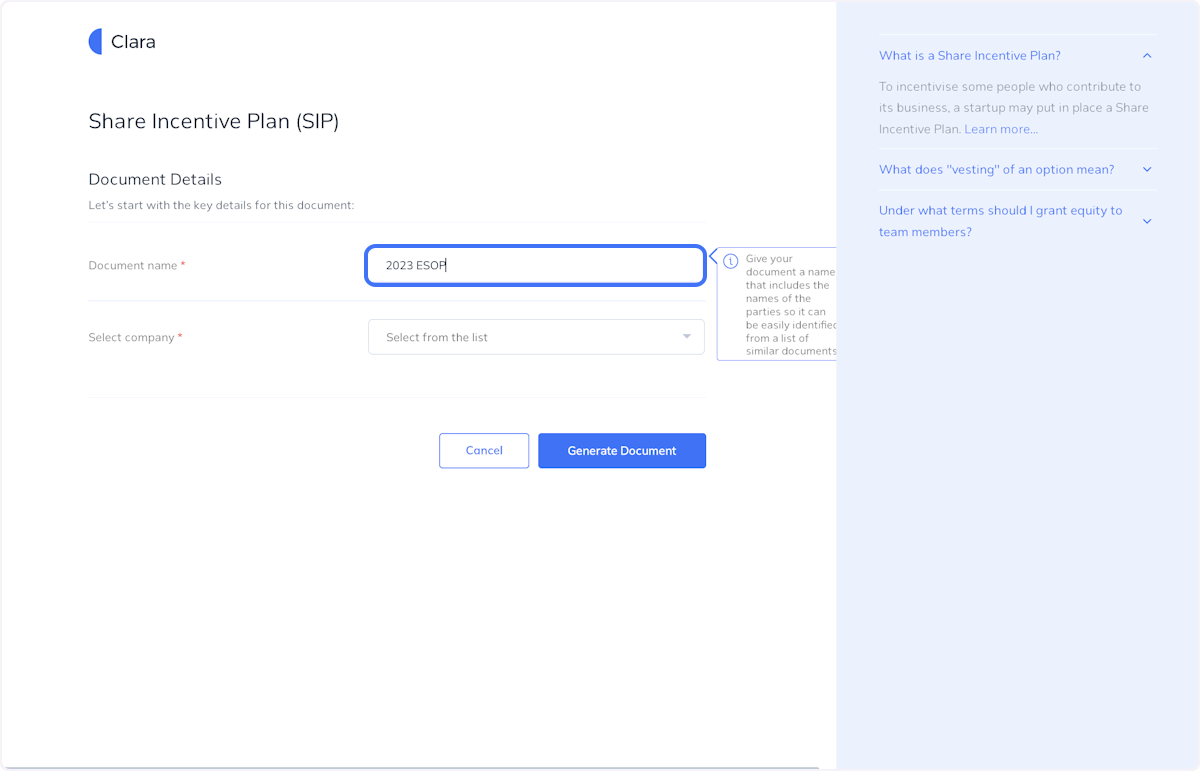
3. Name your Share Incentive Plan
Select under which company the plan should be set up. We recommend this is set up using your HoldCo or TopCo.
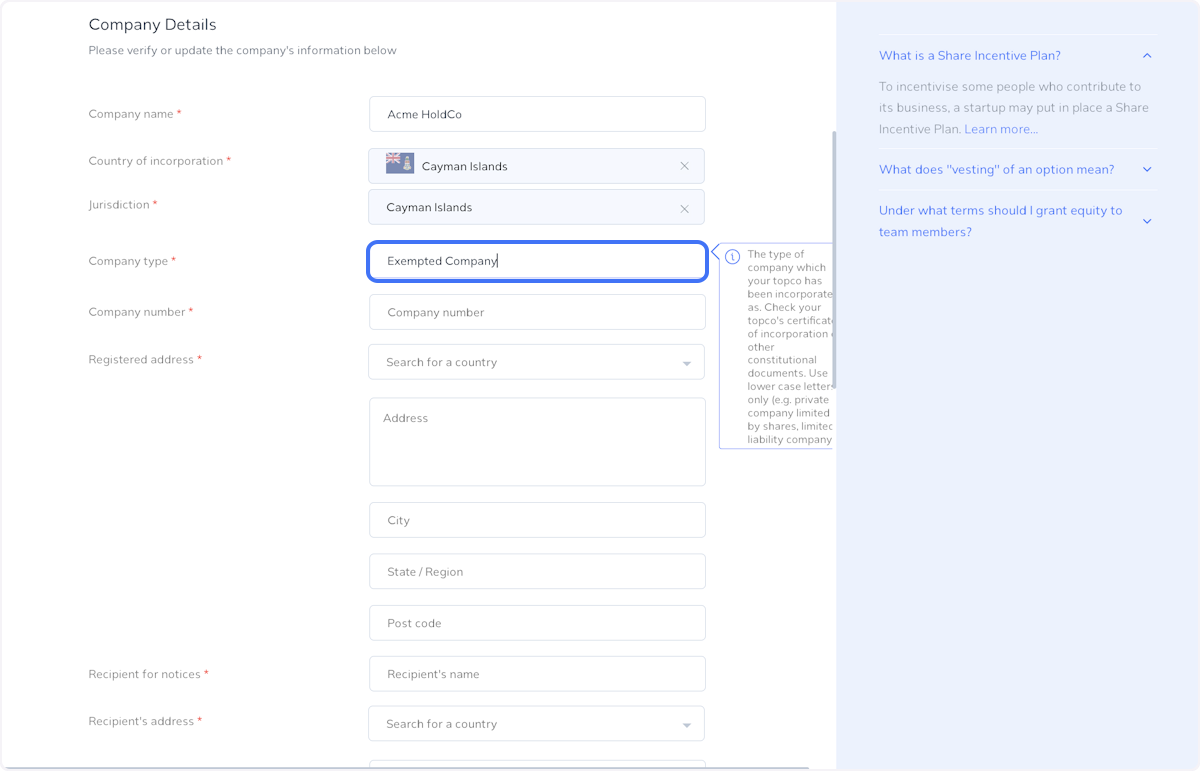
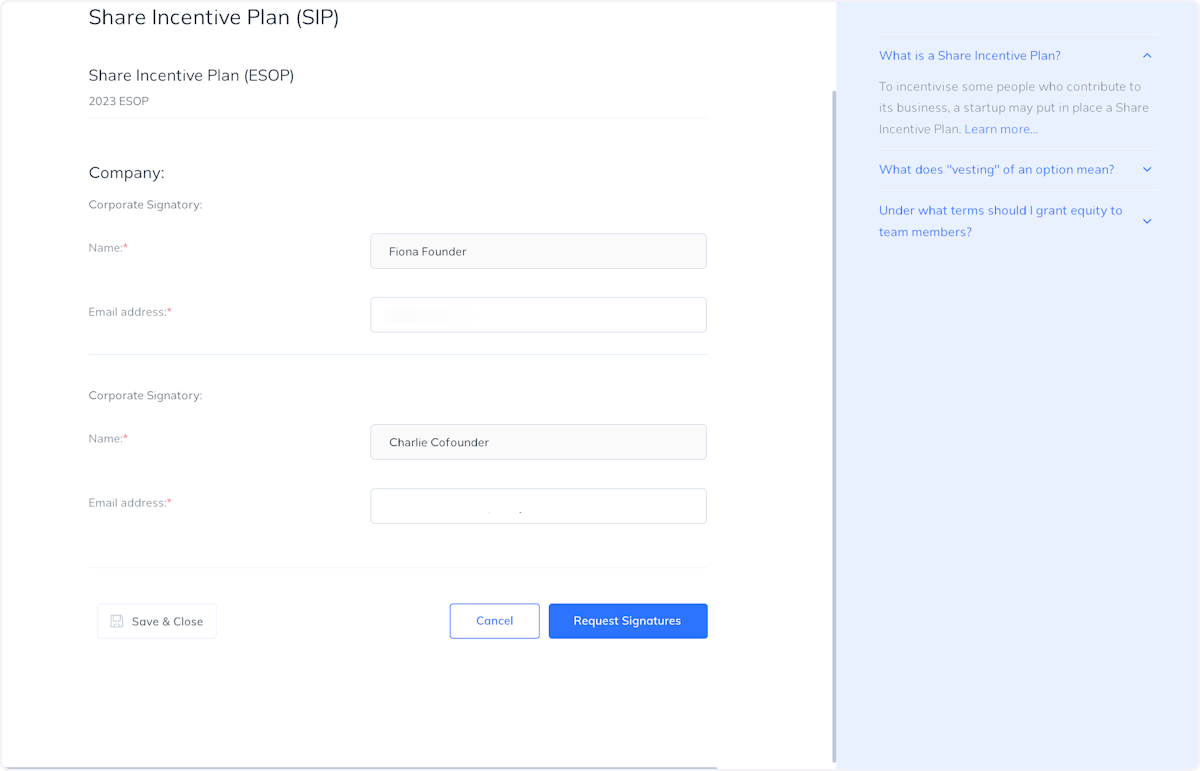
4. Populate the form
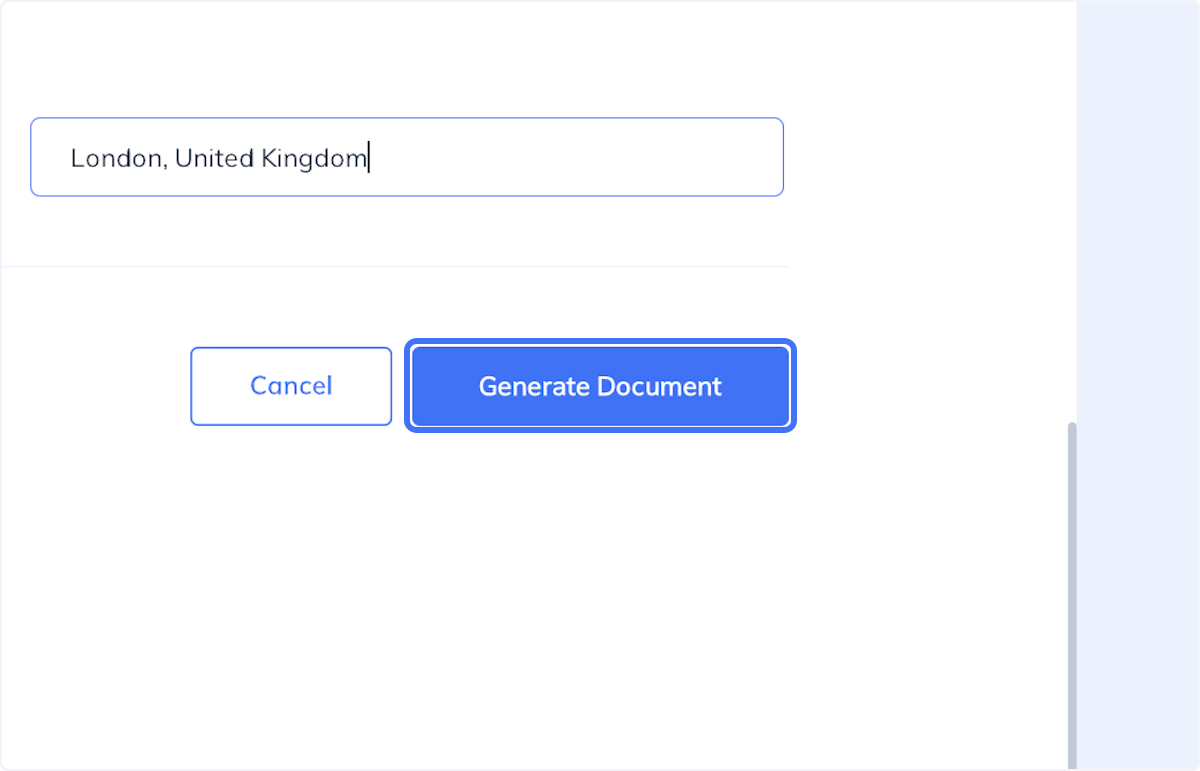
Populate all required fields and provide information about the company and the share incentive plan.
You can use this tool to calculate how many options you should issue based on the number of authorised shares: https://calculator.clara.co/percentages.
Information about the par value and number of authorised shares can be found in the Memorandum of Association or Register of Members in your data room.
Finally, click Generate Document.
5. Get Signatures
You can circulate the Share Incentive Plan to the corporate signatories using the blue button. You can also click Save & Close, saving the plan as a draft in the data room.
6. Confirm corporate signatories
D
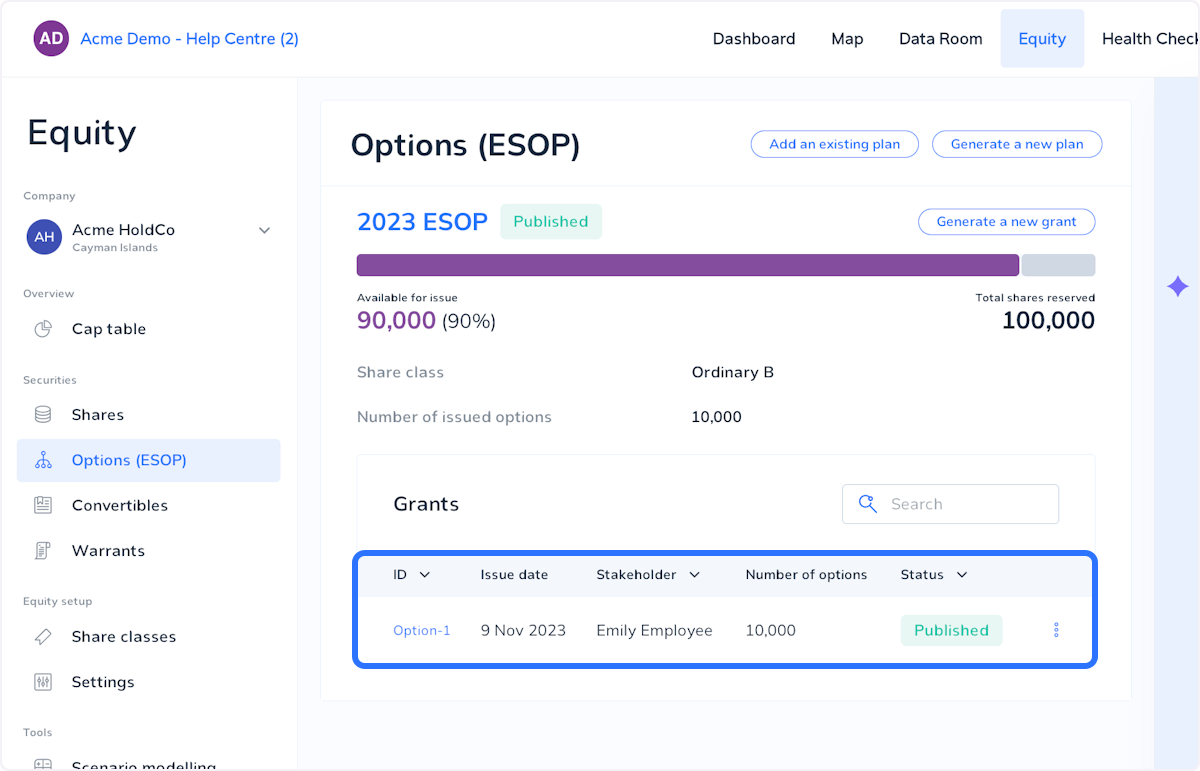
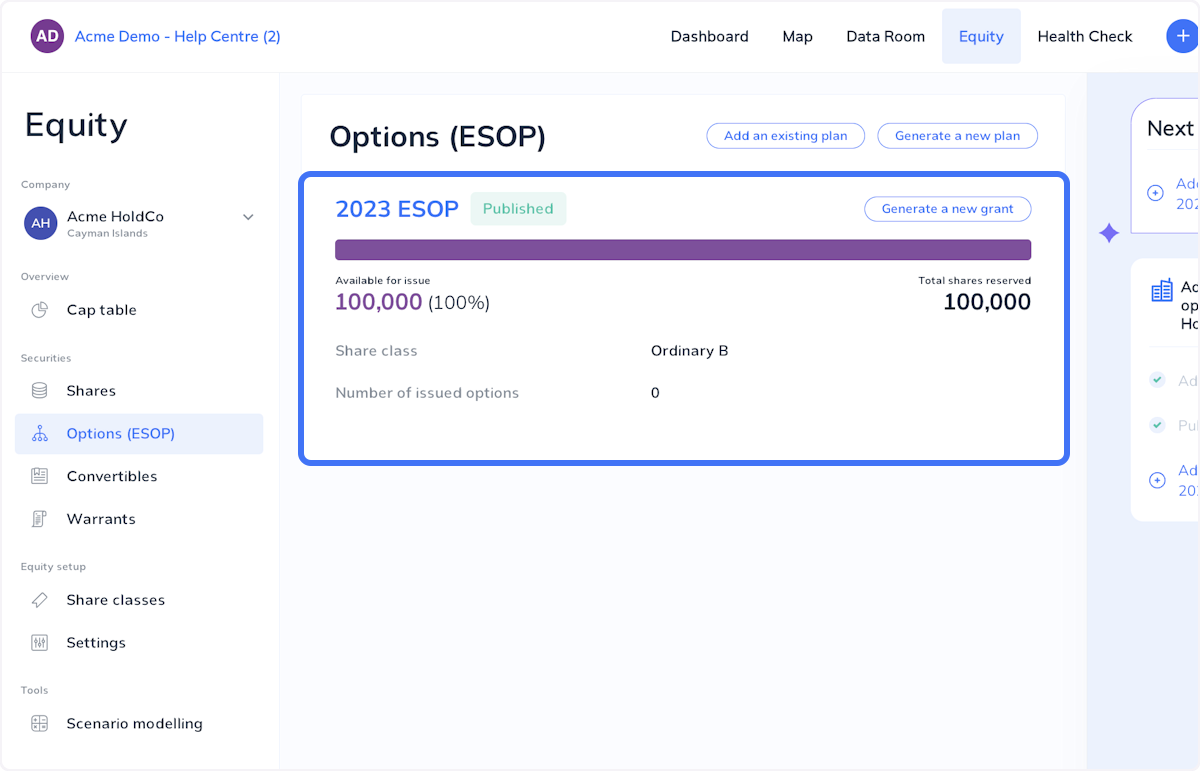
7. Navigate to the Options (ESOP) tab
You can view the ESOP plan on your cap table via the Options (ESOP) tab. The ESOP will be created in Draft mode. Once the corporate signatories have signed, the plan automatically change to Published.
Grant Options
Grant Options
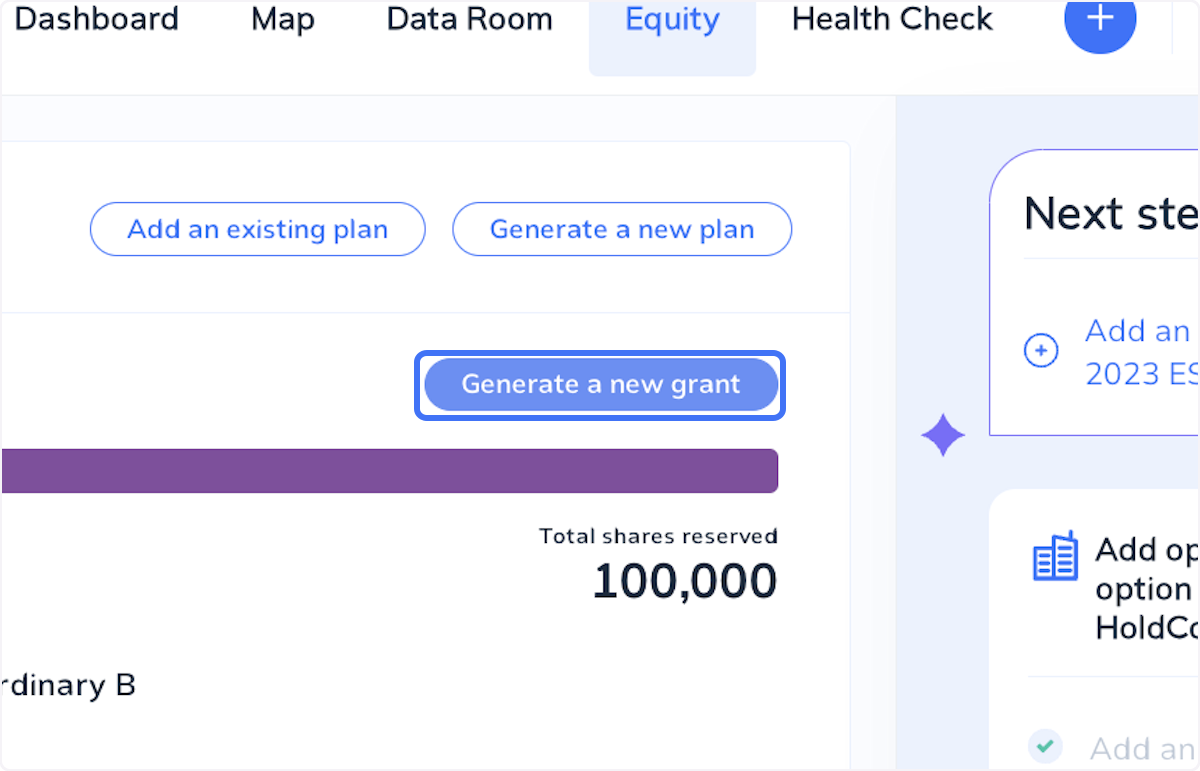
8. Generate options to your employees
Now that your ESOP is set up, you can start granting options to employees. Click on Generate a new grant to start this process.
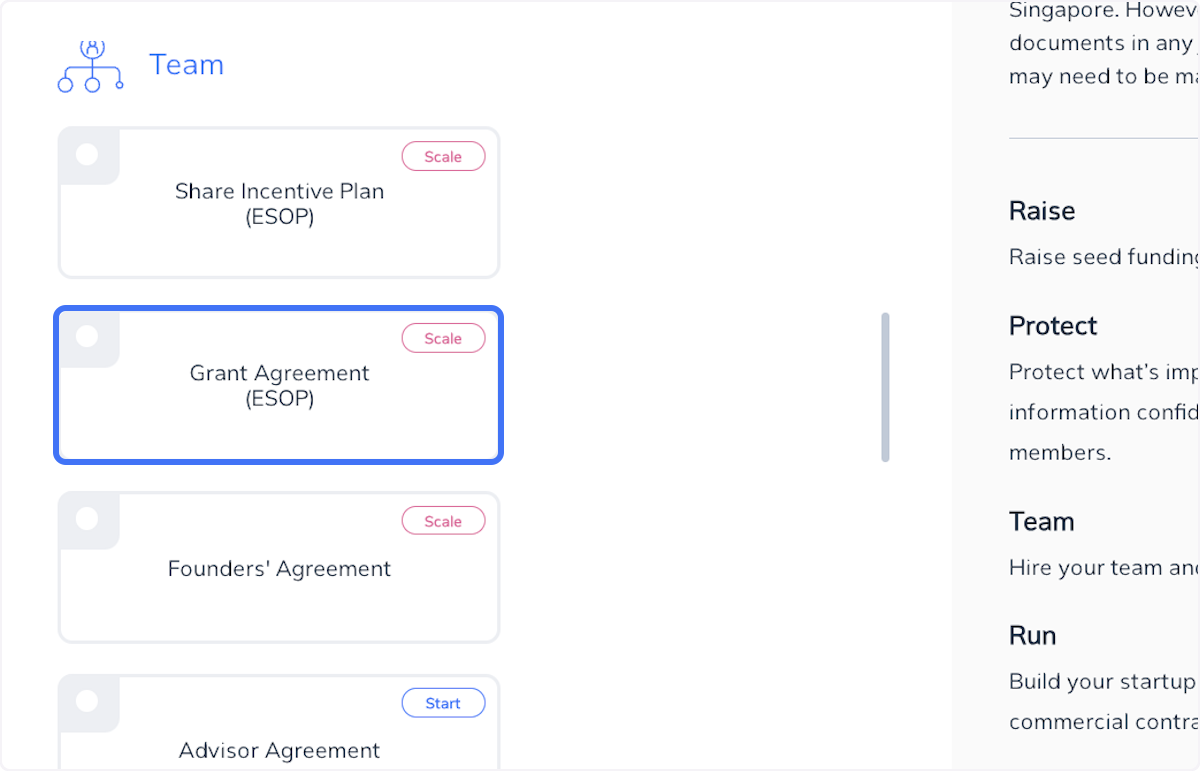
9. Click on Grant Agreement (ESOP)
Use this tool to generate a Grant Agreement for an employee
10. Name your Grant Agreement
Provide information about the participant and select the share incentive plan from a drop down menu.
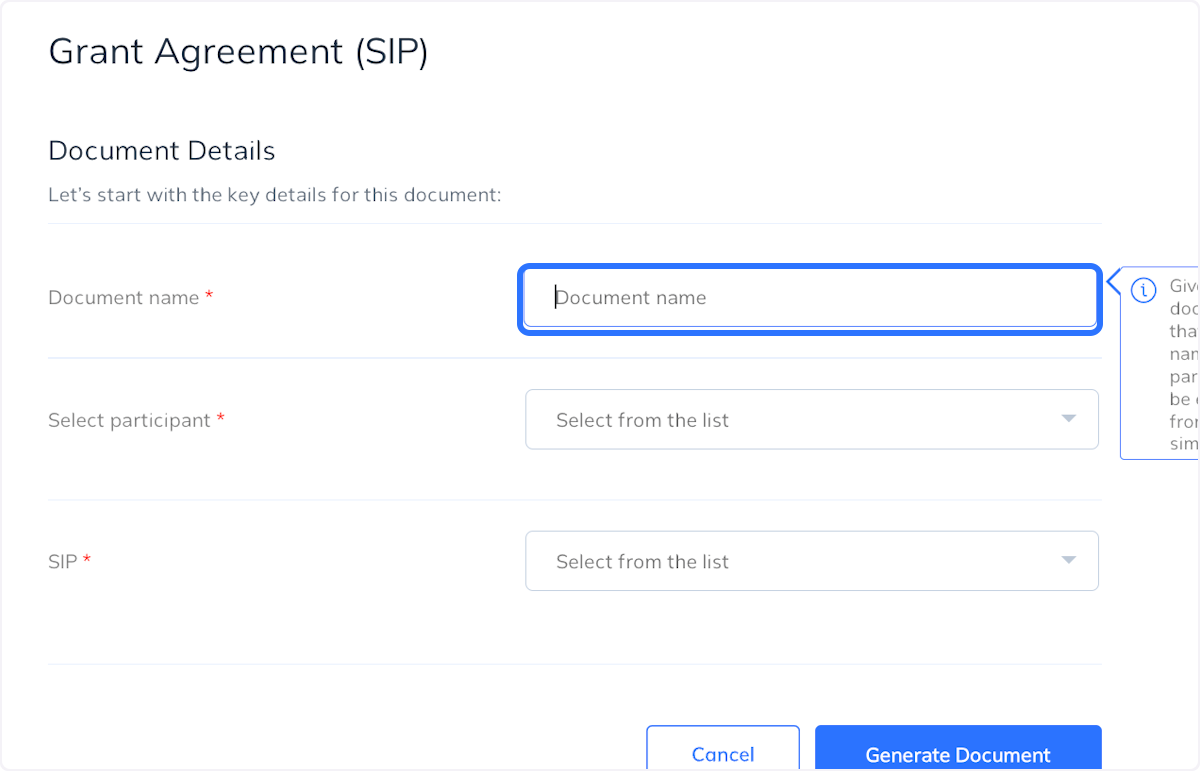
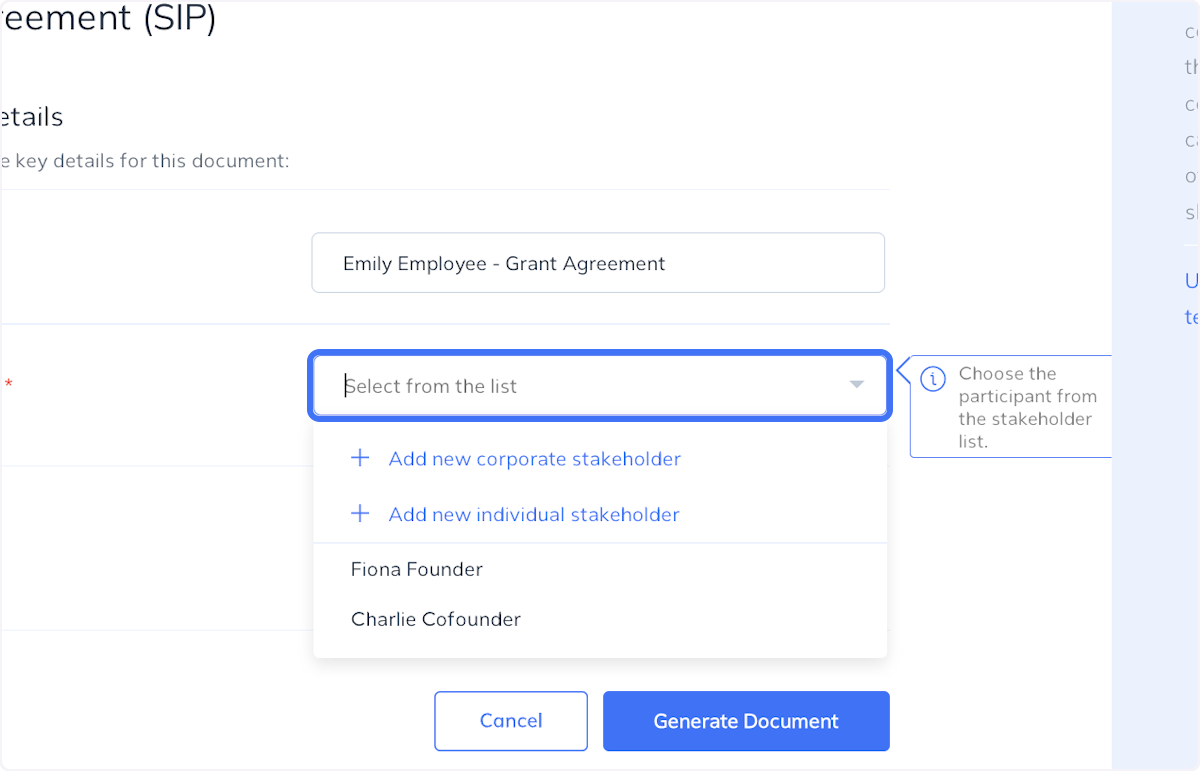
11. Select a Participant
If the employee is not yet listed in the drop down list, you can use the add individual stakeholder option to add them to the list.
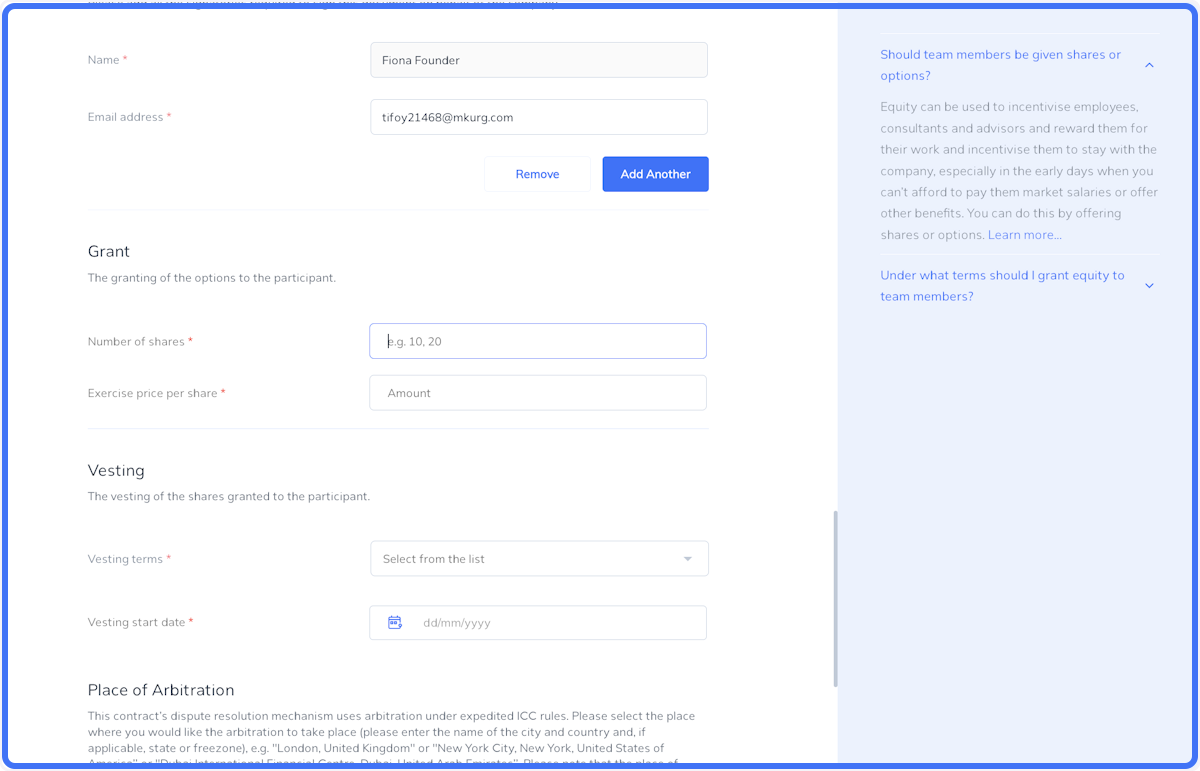
12. Fill in the form
Fill in all required fields, including information about the number of options and the vesting schedule.
13. Click on Generate Document
14. Click Get Signatures
You can send the document for signing or you can click Save & Close to send it to the data room as a draft.

15. View Grant Agreement in the Data Room
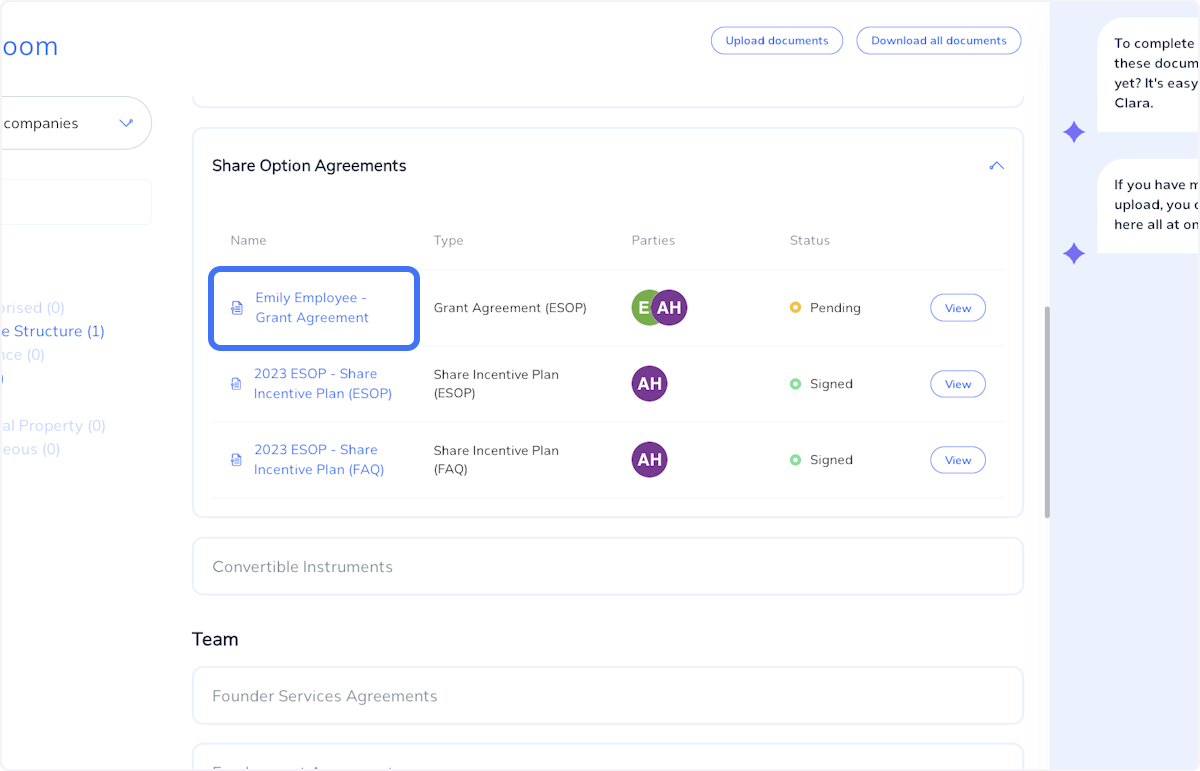
16. View the Grant in the Cap Table
The Grant status will be Draft at first. Once all parties have signed it will automatically update to Published.